For bullet bike enthusiasts, safety and performance always come first. At the heart of this is a well-maintained braking system. Over time, brake pads naturally wear down, and replacing them promptly is essential to ensure effective braking and a smooth ride. Whether you’re a DIY bike maintenance beginner or an experienced rider, learning how to change your brake pads can save you money, increase your confidence, and keep your bike in top condition.
This step-by-step guide will walk you through everything you need to know about changing the brake pads on your bullet bike—from recognizing the signs of wear to installing new pads. By the end, you’ll feel equipped and ready to tackle this maintenance task on your own.
Understanding Brake Pads
Before we get started, let’s take a closer look at brake pads and why they’re so crucial to your bike’s performance.
Types of Brake Pads
Bullet bikes typically use disc brake pads, which apply friction to the spinning brake disc (or rotor) to reduce speed. Brake pads come in several material types:
- Organic Brake Pads: Made from materials like rubber and Kevlar, they’re quieter but wear out faster.
- Sintered Brake Pads: Constructed from metallic particles fused at high temperatures, these are durable and ideal for high-performance bullet bikes.
- Ceramic Brake Pads: Known for their longevity and quiet operation, these are a premium option for smoother braking.
Signs Your Brake Pads Need Replacing
Watch out for these warning signs that indicate it’s time for a change:
- Noise: Squealing, screeching, or grinding sounds when you brake.
- Thinning Pads: If the material is less than 3mm thick, replacement is necessary.
- Reduced Brake Efficiency: Increased stopping distance or difficulty braking smoothly.
- Dashboard Warning Light (on some bikes): An indicator light signaling brake wear.
Ignoring these signs can lead to decreased braking power and damage to other components, like the brake rotor.
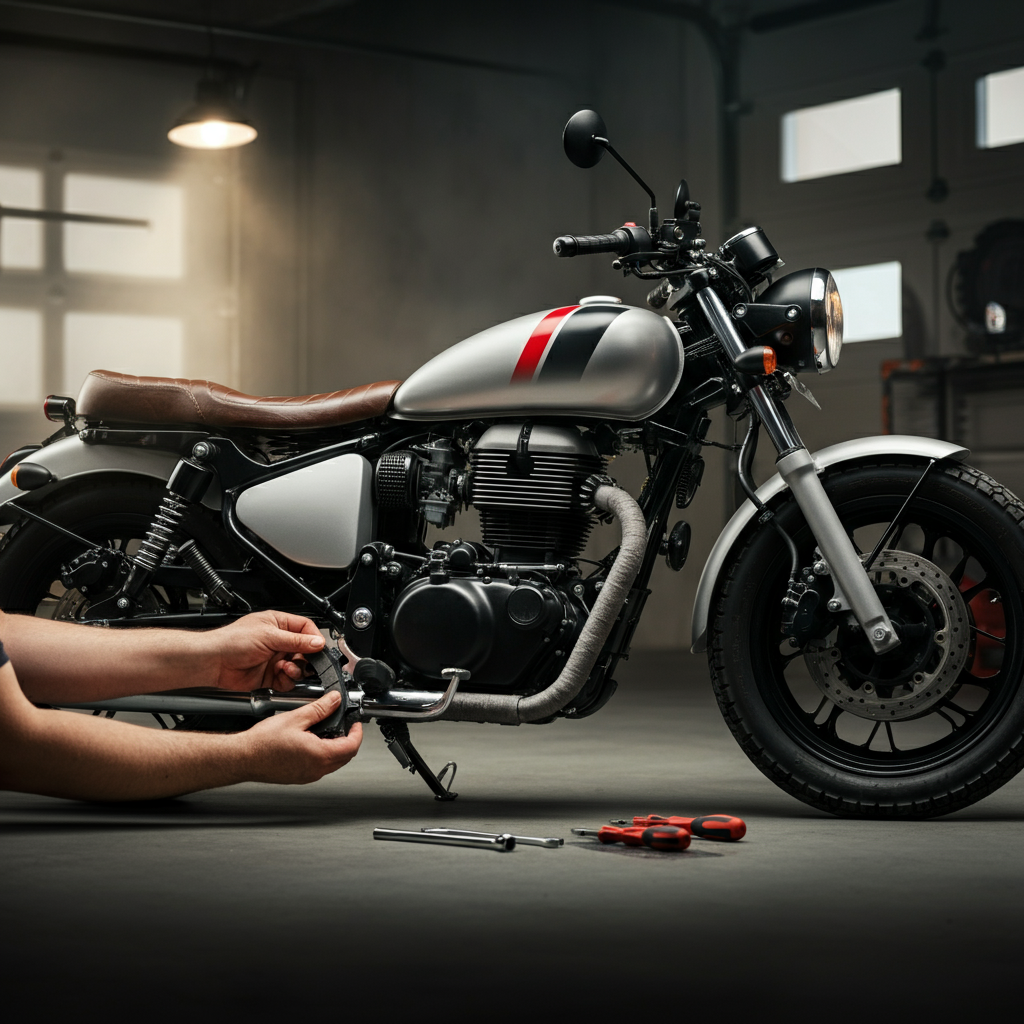
Preparing for the Change
Replacing brake pads is relatively straightforward, but proper preparation ensures the process is safe and efficient.
Tools and Materials Needed
- New brake pads compatible with your bike’s make and model
- A bike jack or paddock stand to elevate your bike
- Hex keys or a socket set (depending on your bike’s assembly)
- A cleaning solution and soft cloth
- A C-clamp or brake piston reset tool
- Safety gloves and eyewear
Safety Precautions
- Park your bike on a flat, stable surface to prevent tipping.
- Allow the brakes to cool down fully before starting.
- Use gloves to protect your hands from grease and sharp edges.
When you’re ready, grab your tools and follow the detailed steps below.
Step-by-Step Guide to Changing Brake Pads
Step 1: Elevate the Bike
To access the wheels easily, elevate the bike using a jack or paddock stand.
- Ensure the bike is stable and secure before proceeding.
- For added safety, chock the wheels that will remain on the ground.
Step 2: Remove the Old Brake Pads
- Using the appropriate hex key or socket, remove the bolts securing the brake caliper to the bike.
- Slide the caliper off the rotor carefully.
- Remove the old brake pads from the caliper. Depending on your bike, they may clip in or require loosening of a retaining pin.
Step 3: Inspect the Brake Calipers and Pistons
- Check the caliper and pistons for wear, corrosion, or dirt buildup.
- Use a cleaning solution and a soft cloth to wipe away debris. (Avoid using water, as it may damage components.)
- Inspect the brake rotor for deep grooves or warping—this may require professional attention.
Step 4: Install the New Brake Pads
- Use the C-clamp or brake piston reset tool to retract the pistons fully so the new pads will fit over the brake rotor.
- Insert the new pads into the caliper, ensuring they align with the retaining clips or pins.
- Slide the caliper back over the rotor and reattach it to the bike with the bolts. Tighten securely.
Step 5: Test the Brakes
- Before riding, test the brakes to ensure they’re functioning properly. Squeeze the brake lever multiple times to seat the pads against the rotor.
- Spin the wheel manually (if possible) and verify the brake stops it effectively without dragging or sticking.
Congratulations—you’ve successfully replaced your bullet bike’s brake pads!
Tips for Proper Maintenance
To keep your new brake pads in top condition and extend their lifespan, here are some helpful tips:
- Break Them in (Bedding Process)
During the first 100-200 miles, apply the brakes gently and gradually to allow the pads to conform to the rotor surface.
- Keep the Brake System Clean
Remove debris and grease from the calipers and rotors regularly using a recommended cleaning product.
- Inspect the Brake System Frequently
Perform regular checks to ensure components like the rotor, calipers, and hydraulic hoses (if applicable) are in good shape.
- Avoid Aggressive Braking
Repeated hard braking can cause premature wear and overheating. Practice smooth and controlled braking.
- Store Your Bike Correctly
Prevent rust and corrosion by keeping your bike in a dry, protected area when not in use.
With regular care, your brakes will remain responsive and effective for many rides to come.
Take Your Bike Maintenance to the Next Level
Brake pads are a small part of your bullet bike, but their impact on safety and performance is colossal. By mastering this maintenance task, you not only save on service costs but also gain greater confidence in your ability to care for your bike.
Have tips or experiences on brake pad replacement? Share them in the comments below—we’d love to hear from you!
For more expert-guided DIY maintenance tutorials and bike care advice, subscribe to our blog today. Ride safe and enjoy the road ahead!